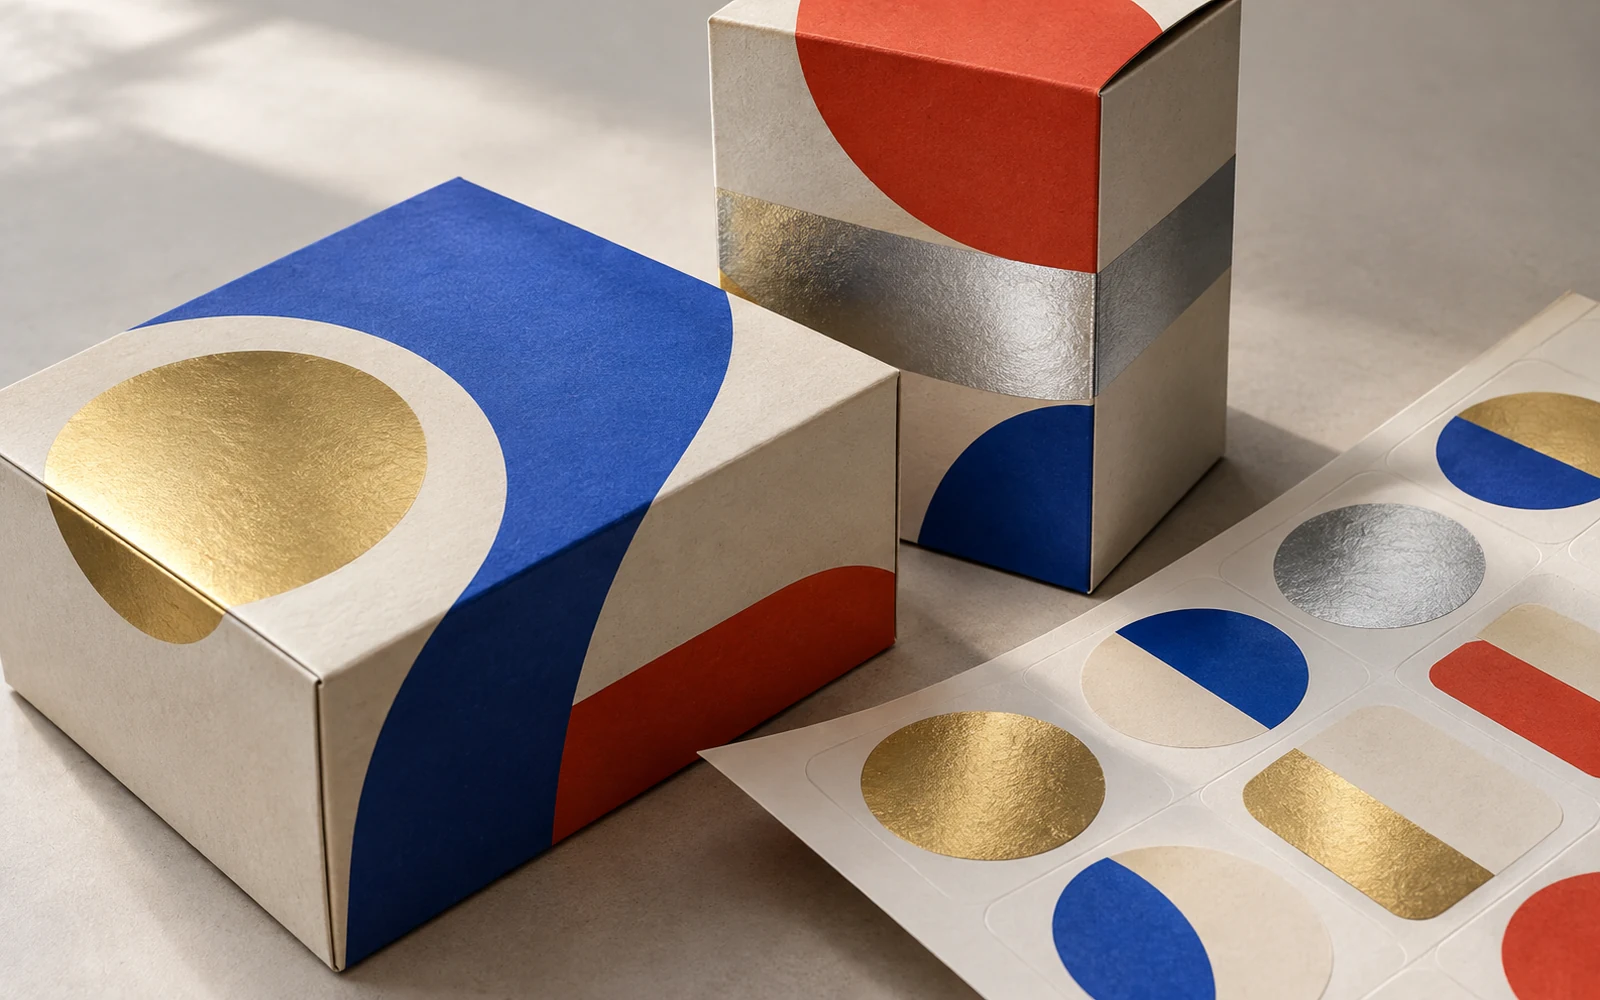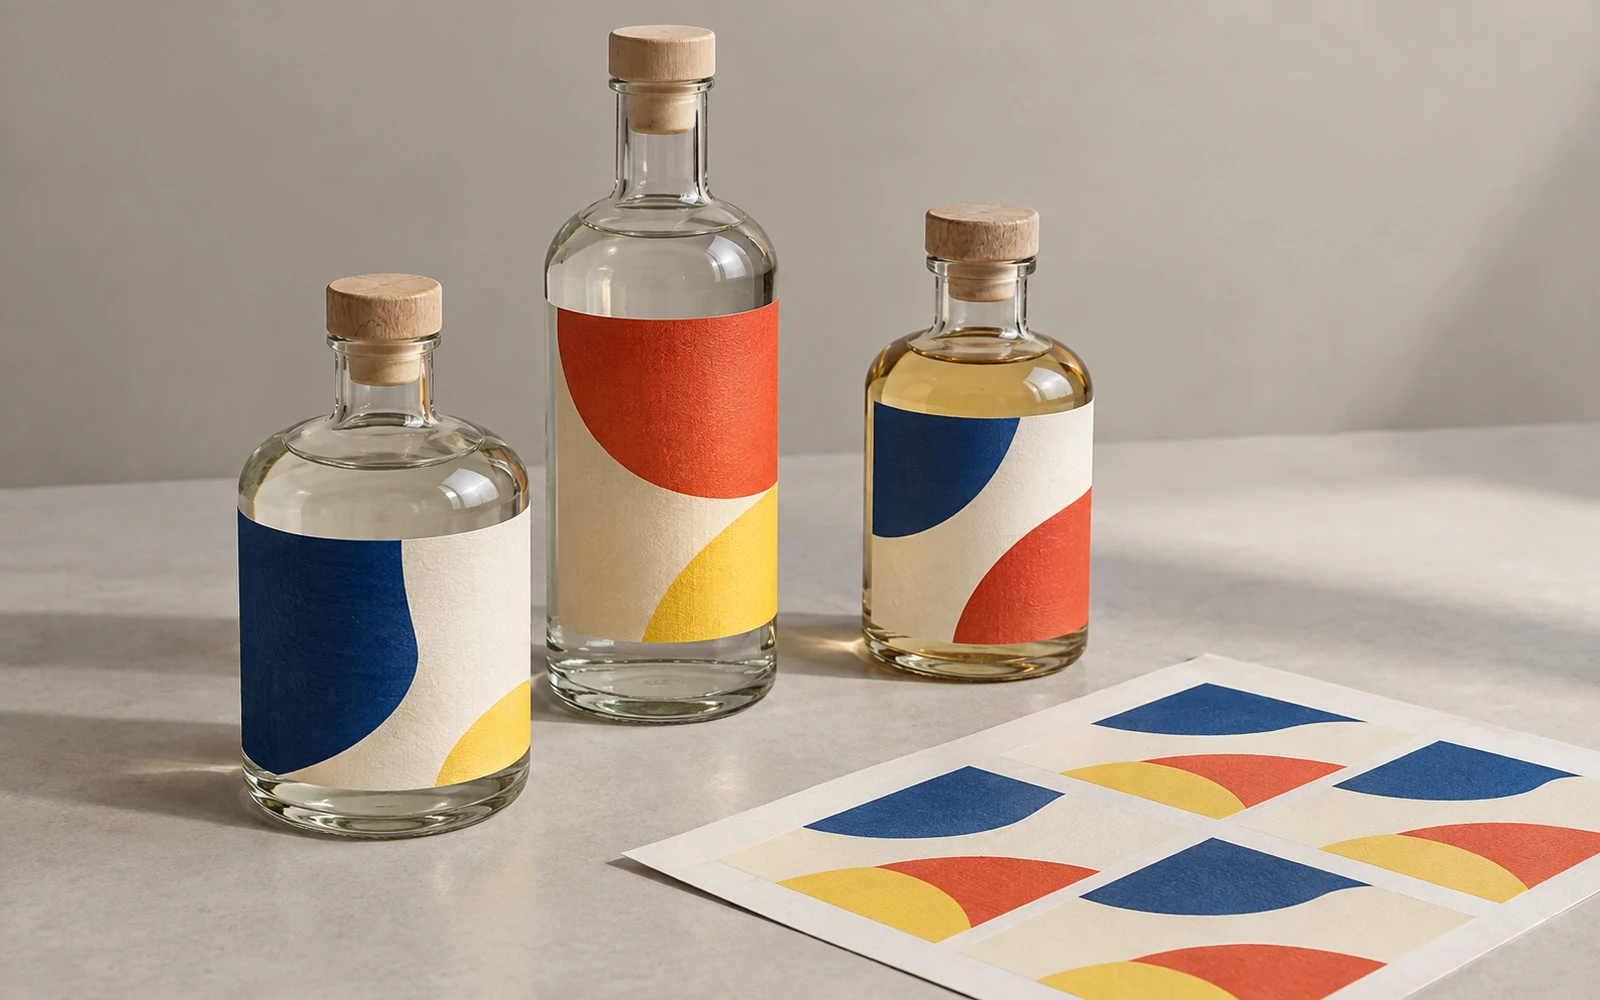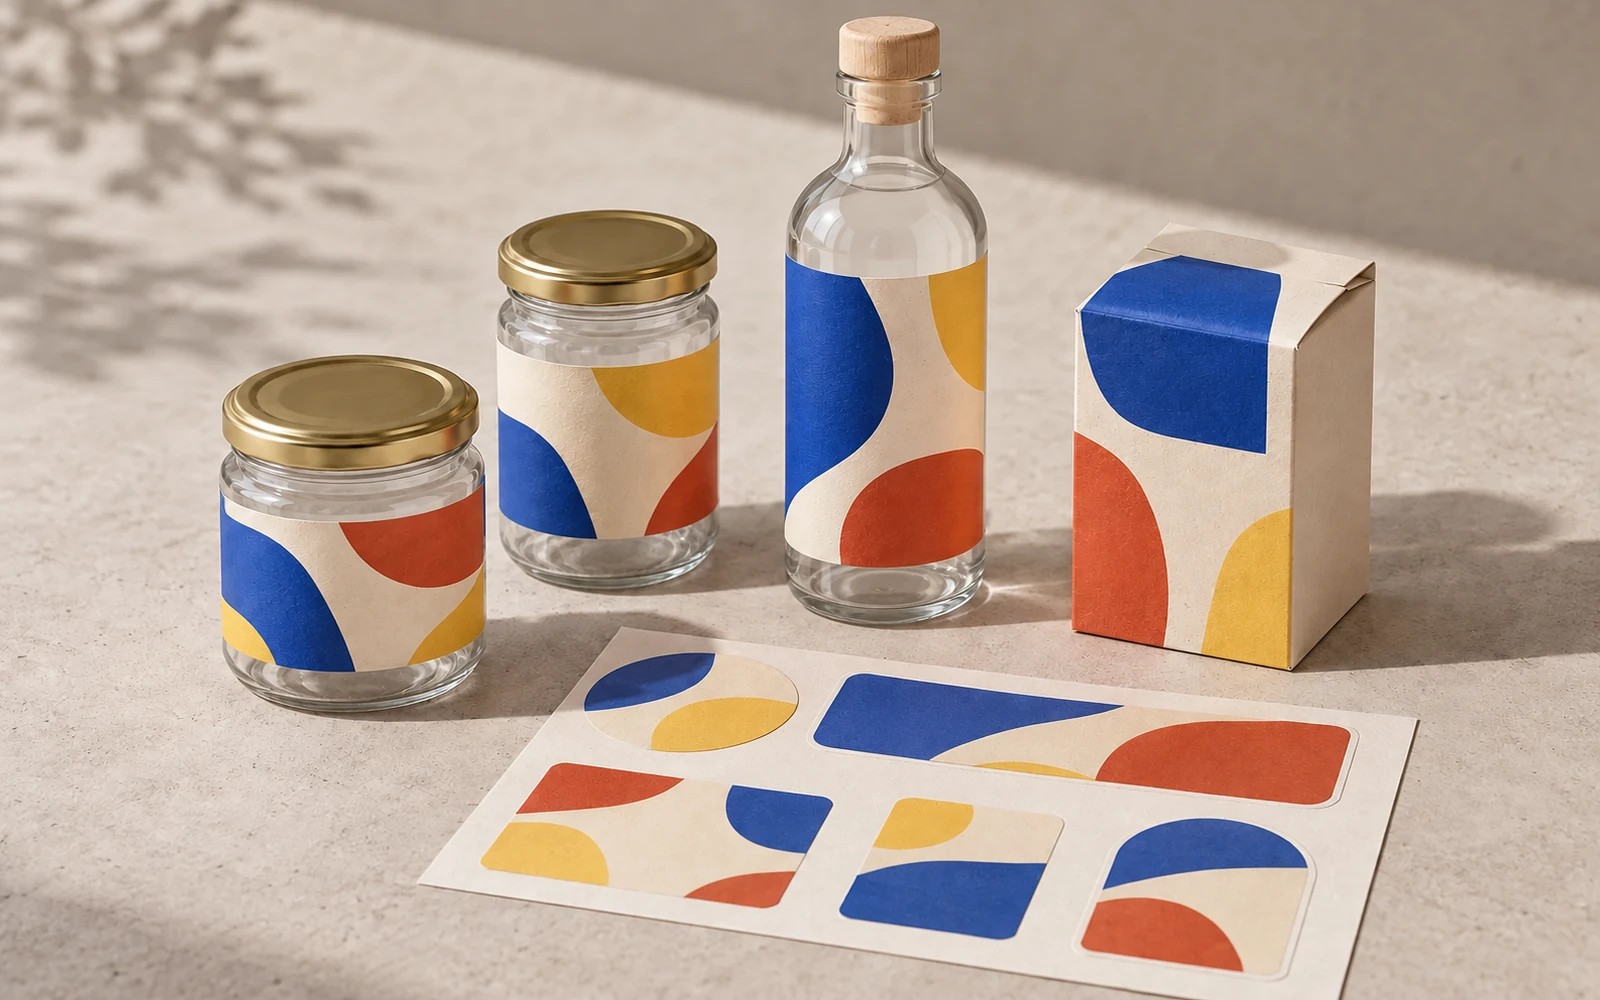
A label that misses a required element has to be reprinted, and the stock already printed can go to waste. Design a product label in three passes: list the elements your product category must carry, lay them out on the panels the rules name, then add brand graphics with a free or paid tool and check the result before printing.
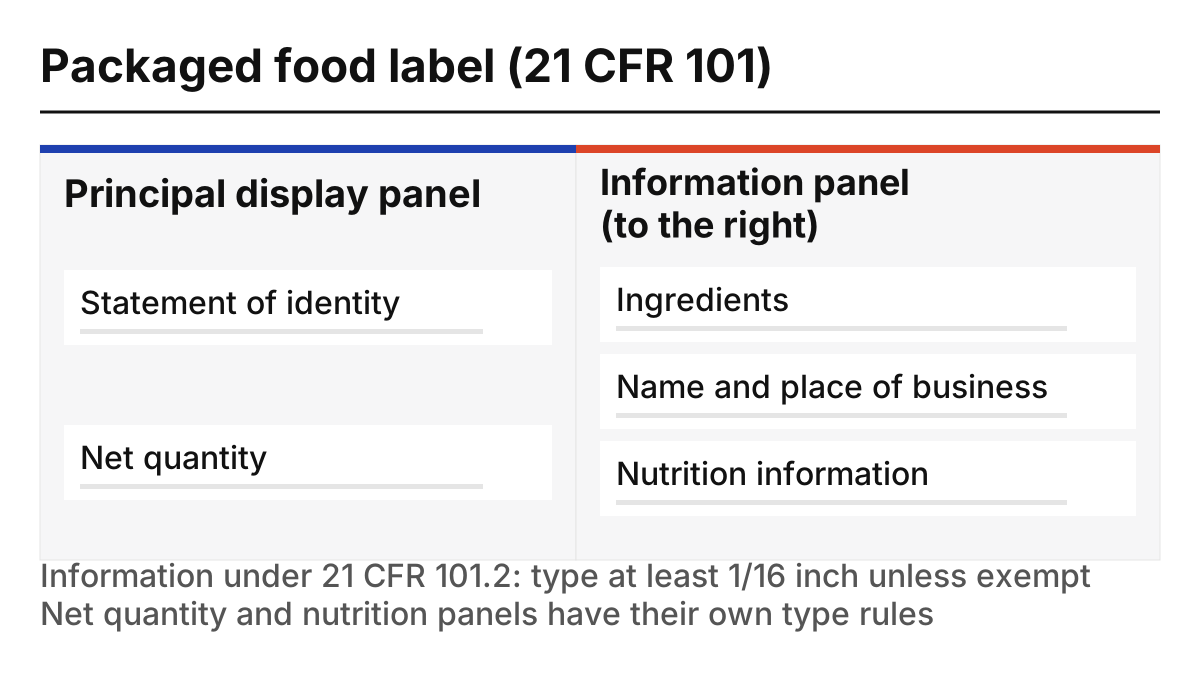
A product label is the labeling on a container, applied as a separate piece or printed directly on the pack, that identifies the product, carries the information rules require and presents the brand. In the U.S., packaged food must show a statement of identity and net quantity on the principal display panel, with ingredients, the maker’s or distributor’s name and place of business, and nutrition information on that panel or the information panel (21 CFR 101); each item has its own type-size rule. Cosmetics, alcoholic beverages, hazardous chemicals and “Made in USA” claims have their own rules. Do not assume a free or AI design tool checks any of this; the checklist below does.
Key points:
- Decide the label’s role (front, back, wraparound or seal) before choosing a template.
- Required elements differ by category; the table below links each row to the federal text it comes from.
- Whatever tool you use, replace every factual line with checked information.
- Approve a printed proof on the real container before a full run.
This guide is general information compiled from the regulation texts and official pages listed under Sources, read on October 7, 2026. It is not legal advice and does not cover state rules.
What is a product label?
A product label is the labeling on a container, applied as a separate piece or printed directly on the pack, that names the product, carries the information required for its category and presents the brand. Labels are usually designed by role, because each role has a different job on the shelf and in the hand.
| Label role | Where it sits | Main job | Design note |
|---|---|---|---|
| Front label | Faces the shopper | Identity, brand, key claims | For food and cosmetics this is usually the principal display panel |
| Back or side label | Next to or behind the front | Ingredients, contact details, directions | Often the information panel |
| Wraparound | Around a round container | Front and back content on one piece | Plan which part shows on the shelf |
| Neck or collar | Bottle neck or lid | Variant, flavour or batch cue | Small area; keep text minimal |
| Seal or closure label | Across the opening | Closure and tamper cue | Placement must survive opening and handling |
For pouches and other flexible packs, the label is often printed directly on the pack; our explainer on seasonal coffee pouch graphics shows how fixed and changing artwork can be split across one surface.
Takeaway: Name each label’s role and position on the container before you open a design tool.
Which elements must a product label carry?
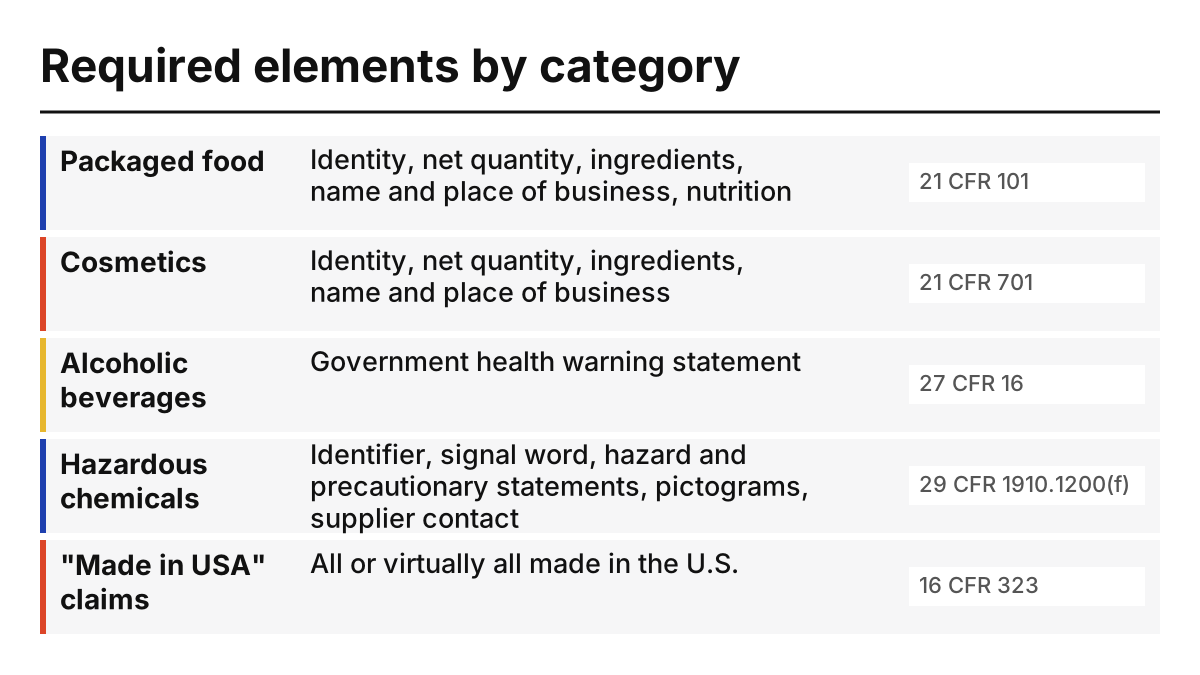
The required elements depend on what the product is. The table summarises the federal provisions read for this guide; each row links to the rule so you can check the details and exemptions for your product.
| Category | Required elements in the text read | Federal source |
|---|---|---|
| Packaged food | Statement of identity and net quantity on the principal display panel; ingredients in descending order of predominance by weight; name and place of business of manufacturer, packer or distributor (“Manufactured for” or “Distributed by” when you are not the maker); nutrition labeling | 21 CFR 101.1–101.9 |
| Cosmetics | Statement of identity and net quantity; name and place of business; ingredients in descending order of predominance (fragrance or flavor can be listed as such), on an information panel in letters at least 1/16 inch high | 21 CFR 701.3, 701.10–701.13 |
| Alcoholic beverages | The government health warning statement; “GOVERNMENT WARNING” in capital letters and bold | 27 CFR 16.21–16.22 |
| Hazardous chemicals (workplace) | Product identifier, signal word, hazard statements, pictograms, precautionary statements, and name, U.S. address and phone number of the responsible party | 29 CFR 1910.1200(f)(1) |
| Any product labeled “Made in USA” | An unqualified claim requires the product to be “all or virtually all” made in the U.S. | FTC Made in USA Labeling Rule, 16 CFR Part 323 |
Other requirements sit outside this table, for example food allergen declarations, further alcohol label items and state rules; check them with the relevant agency’s guidance for your product. Packaging for regulated products can also face design limits beyond required text: our explainer on California’s AB 2249 shows how cannabis label imagery is restricted.
Common mistake: Designing the front first and fitting required text into whatever space is left. The rules set where some elements go and how large text must be, so place them first.
Takeaway: Write your category’s required elements as a list, with the rule next to each, before any layout work.
How should the label be laid out?
Lay out food and cosmetic labels around the areas the rules define. For both, the principal display panel is the part most likely to be seen at retail. For food, the information panel is the part immediately to the right of it (21 CFR 101.2); for cosmetics, the ingredient declaration goes on an appropriate information panel (21 CFR 701.3). Required items go where the rule names; brand graphics fill the space without crowding them.
| Area | Food (21 CFR 101) | Cosmetics (21 CFR 701) | Design implication |
|---|---|---|---|
| Principal display panel | Statement of identity as a principal feature; net quantity | Statement of identity as a principal feature; net quantity | Brand and product name share this panel with required items |
| Information panel | Immediately to the right of the principal display panel: ingredients, name and place of business, nutrition (or on the principal display panel) | An appropriate information panel for the ingredient declaration | Reserve this area before adding decoration |
| Type size | Information placed under 101.2: at least 1/16 inch unless exempt; net quantity (101.7) and nutrition labeling (101.9) have their own rules | Ingredient declaration: at least 1/16 inch, with conditions for small packages in 701.3 | Check each item against its own rule at actual print size |
| Crowding | Panel must hold mandatory information without obscuring design or crowding | Same wording for cosmetics | Leave space around required text |
For cylindrical or nearly cylindrical food containers, 21 CFR 101.1 calculates the principal display panel area as 40 percent of the height times the circumference, excluding shoulders, necks and similar parts, and requires the principal display panel information to appear within the 40 percent of the circumference most likely to be displayed. On a wraparound label, place that information in that segment. Material and finish belong in the same check: for oily products, a paper that its maker describes as grease-resistant, such as the one in our UPM Asendo 80 explainer, is one option to proof, and if you plan metallic areas, check small required text over them on the proof; see our note on in-line metallic coatings.
Takeaway: Block out the principal display panel and the information panel at real size first, then design around them.
Designing with free and AI tools
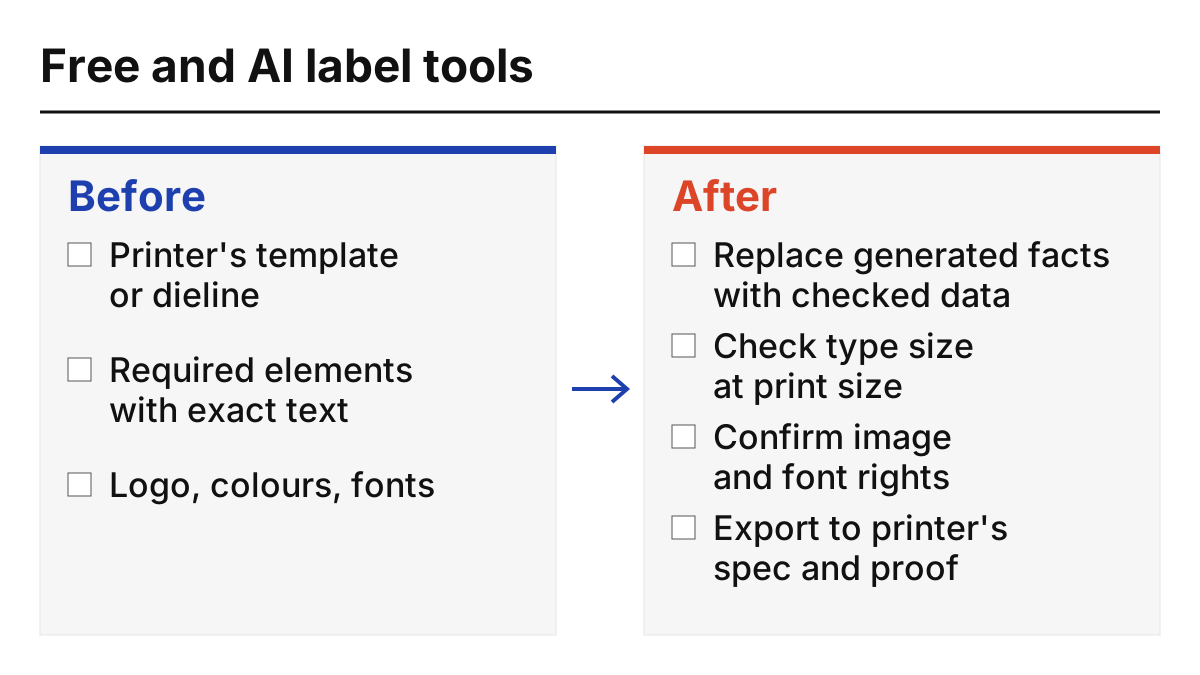
Do not assume a free or AI tool has checked your product’s facts or the rules that apply to it. Use the checklist before you start and after you finish, so the tool’s output becomes a checked label rather than a mock-up.
| When | Check | Why |
|---|---|---|
| Before | Get the printer’s template or dieline for the label size and shape | Size, bleed and safe area come from the printer |
| Before | List required elements for your category, with the exact text | The tool does not know them |
| Before | Collect logo files, brand colours and fonts | Keeps versions consistent |
| After | Replace every AI-generated or placeholder fact with checked information | AI text is not your product data |
| After | Check each required item’s type size against its own rule, at print size | Screen zoom hides small type |
| After | Confirm images and fonts can be used commercially | Free libraries have their own terms |
| After | Export a PDF to the printer’s specification and approve a printed proof on the real container | Curves, finish and adhesive change the result |
For a free start, Affinity says its design and layout app is free for individuals, Scribus is free open-source layout software, and your printer can tell you whether it supplies a template for your label size. Word is another option for simple labels: Microsoft lists printing labels among the jobs Word and PowerPoint now cover after Publisher’s retirement. For choosing between layout tools in more depth, our brochure design software guide compares price models and print-ready output.
Common mistake: Printing an AI-generated label with a plausible-looking ingredient list or net weight. Every factual line must come from your own product records.
Takeaway: Let the tool draw the label; let your checklist decide what it says.
What does label design cost?
Label design cost depends on a handful of components, so compare quotes component by component rather than by total. Printing is usually quoted separately by the printer.
| Component | Why it changes the price |
|---|---|
| Number of versions (flavours, sizes) | Each version needs its own layout and check |
| Supplied or written copy | Writing required text and claims takes time |
| Illustration or photography | New artwork or licensed images add cost |
| Revision rounds | Each round of changes takes time |
| Regulatory review | Specialist review is separate from design |
| Print-file preparation and dielines | Matching the printer’s specification |
| Editable source files | Handover may be priced separately |
Takeaway: Ask every designer to price the same component list, and keep printing as a separate quote.
A step-by-step label design workflow
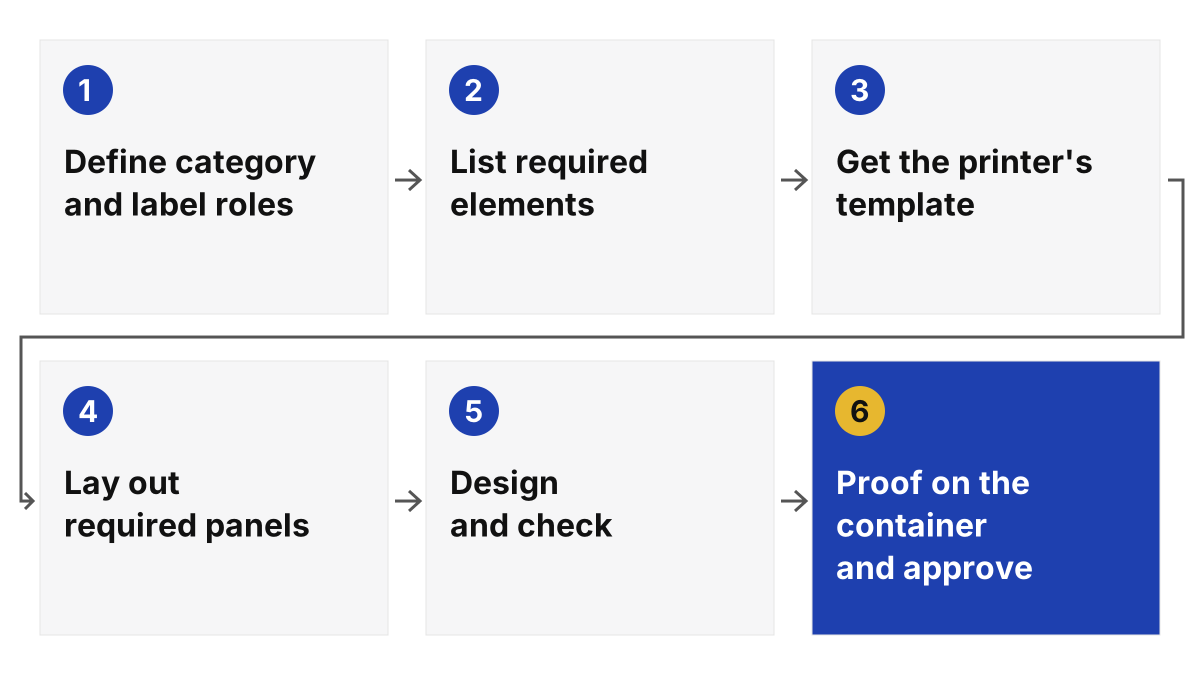
Six steps take a label from blank page to approved proof; each produces a record you can hand to a designer or printer.
| Step | Output |
|---|---|
| 1. Define the product category and label roles | Category, label roles and container |
| 2. List required elements with their sources | Element list with rule references |
| 3. Get the printer’s template and specification | Dieline, bleed, file type |
| 4. Lay out required panels at real size | Panel plan with type sizes |
| 5. Design brand graphics and check | Draft file checked with the tool checklist |
| 6. Print a proof on the real container and approve | Signed-off proof |
Brand graphics carry across labels, ads and leaflets; our print advertising examples show how a visual and headline work together, which applies to a front label too.
Takeaway: Do not start step 5 until steps 1 to 4 are written down.
When this does not apply
This guide covers the design of labels for products sold in the U.S. and summarises only the federal texts listed under Sources. It does not cover state rules, food allergen or other requirements not read for this guide, dietary supplements, drugs, medical devices or products sold outside the U.S., and it does not replace advice from a regulatory specialist. Exemptions in the regulations are not covered. The texts were read on October 7, 2026; check the current versions before relying on them.
More pack artwork topics are in Labels and Packaging, brand-system topics in Brand Graphics, and About explains how this independent site works.
Takeaway: Use this guide to build the first draft; confirm category rules before printing.
Related reading
- UPM Asendo 80 label paper — Plan proofs for a label paper its maker describes as grease-resistant.
- Brochure design software and cost — Compare layout tools and print-ready output.
- Cannabis brand visuals under AB 2249 — See how imagery rules add to required label text.